Who knew you could make an incredible dessert out of winter squash? This kabocha winter squash dessert mousse is thick and creamy. One bite of this fall dessert mousse, and you will be hooked, too!
This post may contain affiliate links. Please read our Disclosure Policy.
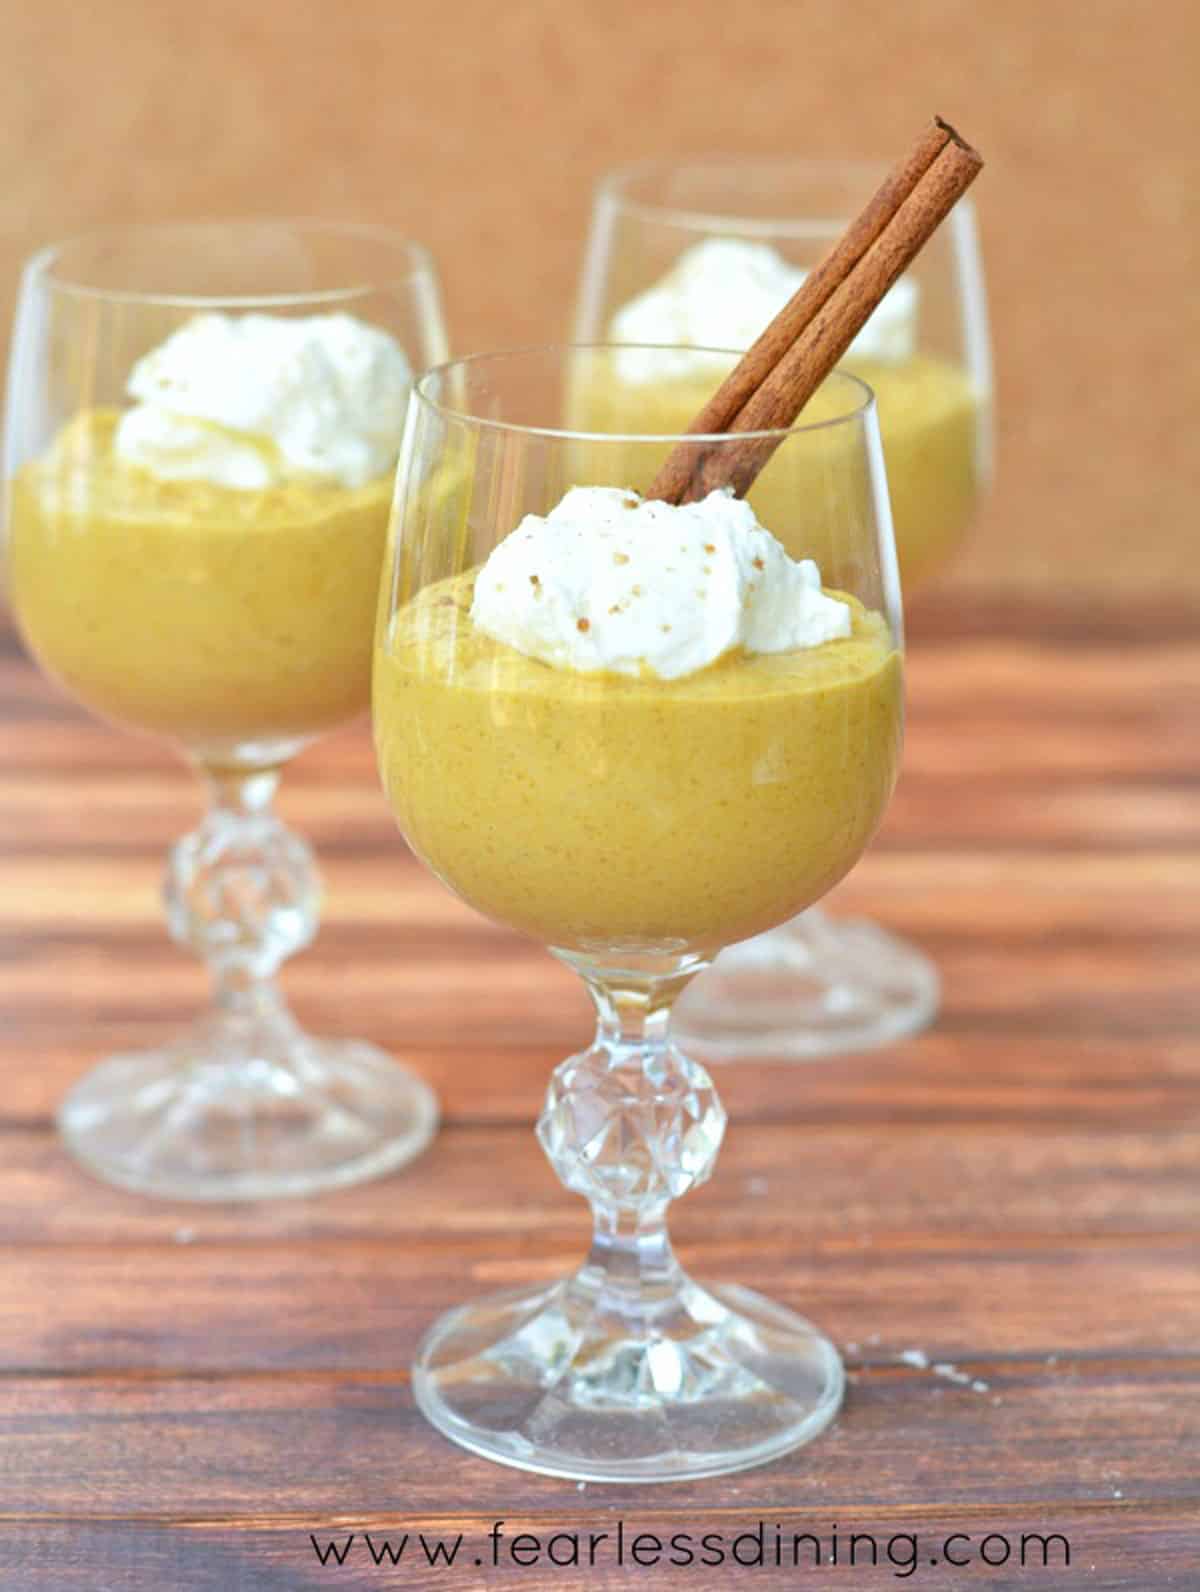
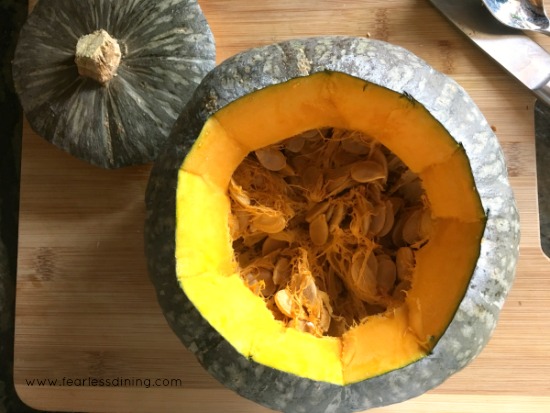
Have you heard of a kabocha squash? It is a big green winter squash that looks like a dark green pumpkin. Kabocha squash is one of my favorites because of its natural sweetness. (Kabocha squash is even sweeter than butternut squash!)
I wanted to go outside the creative box a little today and create a winter squash dessert. My kids love fluffy, creamy mousse, so I attempted that with this sweet roasted squash.
If you love fall flavors and deliciously creamy mousse…you will want to try this easy gluten free pumpkin mousse recipe.
Allergen Information:
This recipe is gluten-free, refined sugar-free, soy-free, and nut-free.
If you have followed my blog for a while, you will remember these awesome hidden veggie Paleo Brownies. I used delicata squash in that recipe, but kabocha squash also tastes great in the brownies.
Ingredient Notes:
For the full list of ingredients and amounts, please go to the recipe card below.
- Kabocha Squash – I bought a squash on the smaller side, but if you get a larger squash, you can use the extras to roast as a side dish.
- Heavy Cream – I do not recommend using half and half.
- Eggs – Size large eggs.
- Coconut Sugar – You can substitute brown sugar if you prefer to use that.
- Dark Rum – Or rum extract if you don’t want alcohol.
- Vanilla Extract – Use pure vanilla extract.
- Ground Cinnamon, Ginger, and Nutmeg.
How to roast kabocha squash:
- Preheat your oven to 350º F.
- Cut the top stem area off the kabocha squash. Use a large spoon to scoop out the seeds, and then cut the squash in half.
- Slice the squash into pieces, as shown below.
- Brush the squash slices with coconut oil (or another light oil) and dust with salt.
- Bake the winter squash for 40 minutes until the squash is soft.
If you are looking for a savory kabocha recipe, try this easy Stuffed Kabocha Squash recipe.
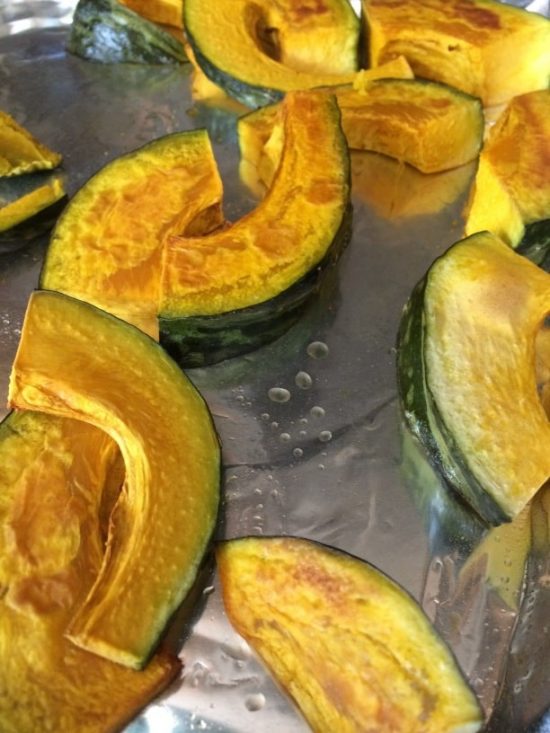
Here is a photo of the baked squash. It almost caramelizes as it bakes, making it nice and sweet.
Step-By-Step Photos and Directions:
Email This Recipe To Me!
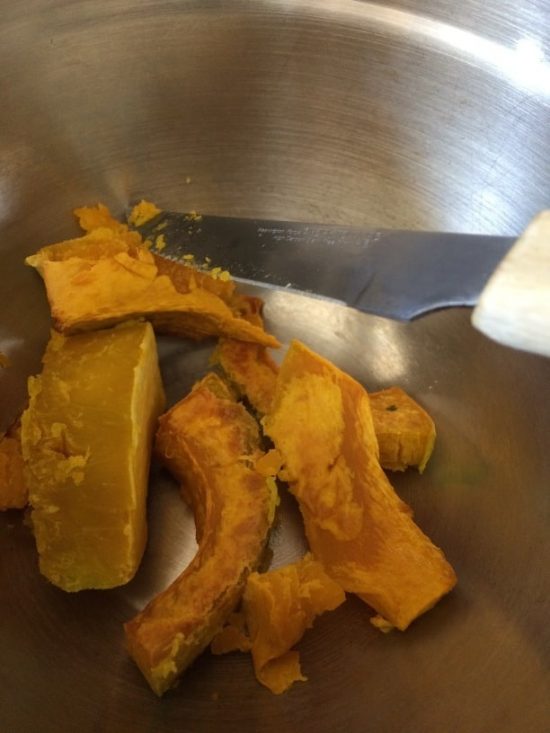
Step 1: With a knife, remove the roasted squash flesh from the rind and mash it in a bowl.
Step 2: Move the squash into a Blender or Vitamix. Add the coconut sugar, spices, 1 cup of the heavy cream, and the egg yolks. Puree them for 25-30 seconds until there are no lumps, and pour them into a small pot.
🔑 Sandi says: You can also put the roasted squash and ingredients into the pan and use an immersion blender to whip it all.
Step 3: Cook on medium-low heat. Whisk frequently to prevent sticking. Cook for 8-10 minutes until the mixture thickens. Remove from the stove and allow it to cool.
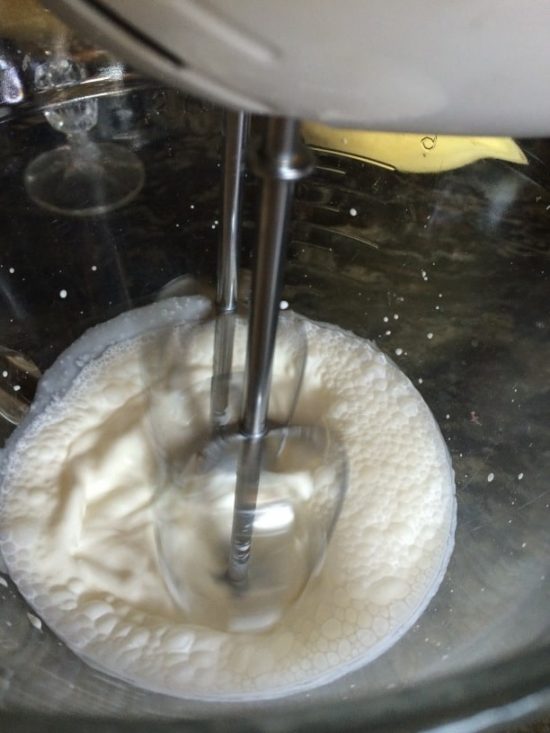
Step 4: Make the whipped cream. Pour the heavy cream into a bowl and whip it with an electric mixer until the cream forms stiff peaks.
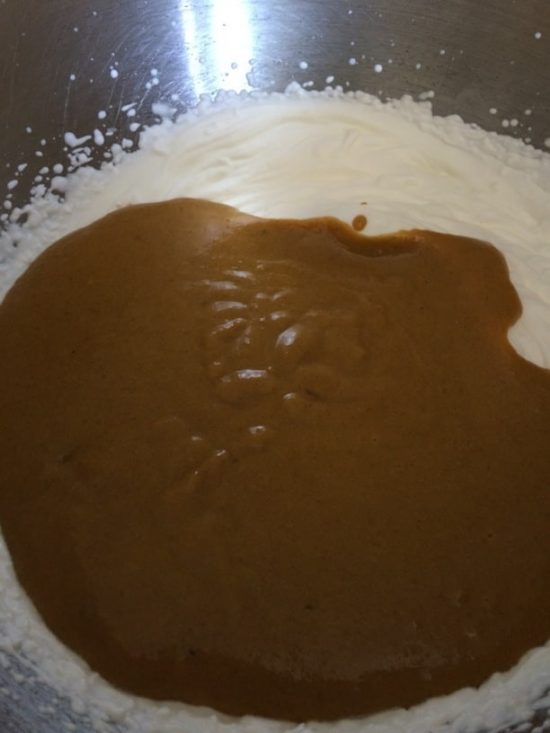
Step 5: Pour the cooled squash mixture onto the whipped cream.
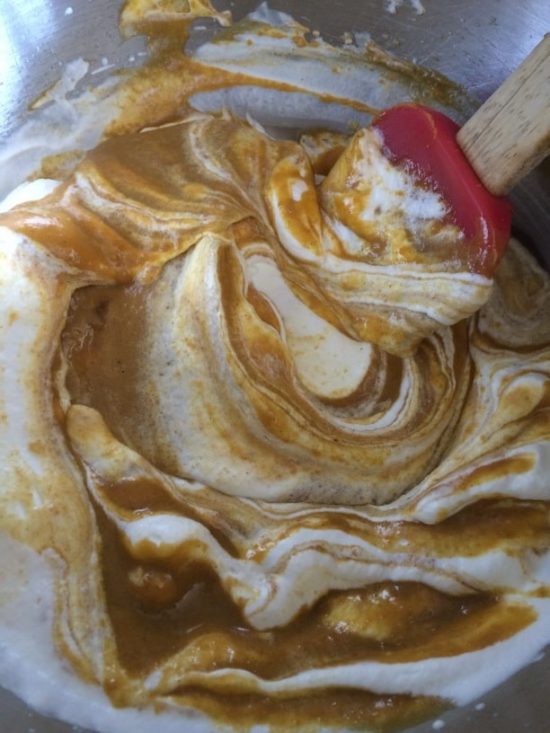
Step 6: Gently fold the two together and chill for at least 2 hours. Pipe or spoon it into glasses or small bowls. Serve with whipped cream.
For a fun variation, crush Gluten-Free Vanilla Wafers on the bottom of the glass. You may also want to make a batch of these fall-flavored Gluten Free Maple Walnut Blondies. If you like whipped desserts, this Orange Fluff Salad is delicious.
Frequently Asked Questions:
Yes! You can use canned pumpkin, butternut, or any other winter squash.
So Delicious and a few other companies make dairy-free heavy cream, which should work in my recipe.
Leftover mousse should be stored in an airtight container in the refrigerator. It will keep fresh for up to 3 days.
More Gluten Free Recipes:
Love This Recipe?
If you made and enjoyed this recipe, I would be incredibly grateful if you could leave a comment below. This will help others know this recipe is delicious. Thank you!
Kabocha Squash Mousse
Ingredients
- 1 ¾ cup heavy cream do not use half and half.
- 4 large egg yolks
- ⅔ cup coconut sugar or brown sugar
- 1 cup squash puree I roasted and used kabocha squash puree
- 1 teaspoon pure vanilla extract
- 1 tablespoon dark rum or rum extract.
- ½ teaspoon ground cinnamon
- ½ teaspoon ground ginger
- ⅛ teaspoon ground nutmeg
- ⅛ teaspoon ground allspice
- dash of salt
Email This Recipe To Me!
Instructions
- See Notes below for the directions to roast the kabocha squash.
- Add 1 cup squash puree, 1 cup of heavy cream, and 2/3 cup coconut sugar to a Vitamix or blender. Puree for 20-30 seconds until there are no lumps.
- In a medium pot, add the squash mixture and 4 large egg yolks.
- Cook on medium-low heat until the mixture is thick. Whisk frequently, do not boil it. Remove from the heat to cool.
- Add 1/2 teaspoon ground cinnamon, 1/2 teaspoon ground ginger, 1/8 teaspoon ground nutmeg, 1/8 teaspoon ground allspice, dash of salt, 1 tablespoon dark rum, and 1 teaspoon pure vanilla extract. Whisk.
- Cool the squash mixture in the refrigerator for 30 minutes.
- Use an electric mixer to beat the remaining 3/4 cup of heavy cream until it forms stiff peaks.
- Gently fold in the chilled squash mix.
- Chill for 2-3 hours before serving.
Notes
- Store leftover winter squash dessert mousse in an airtight container in the refrigerator. It will keep fresh for up to 3 days.
- If you can’t find kabocha squash, use butternut, acorn, or delicata squash. These are all sweet as well.
How to roast kabocha squash:
- Preheat your oven to 350º F.
- Cut the kabocha squash in half and scoop out the seeds from each half.
- Slice the squash into pieces, as shown below.
- Brush the squash slices with coconut oil (or another light oil) and dust with salt.
- Bake the winter squash for 40 minutes until the squash is soft.
SPECIAL NOTE
Please know that every gluten free flour blend has a different starch to grain ratio. If you use a blend I didn’t test, my rule of thumb is to add more flour if your dough or batter is wet and add more liquid if the dough or batter is too dry!
Nutrition
Nutrition Disclaimer
Nutritional information is an estimate provided to you as a courtesy. You should calculate the actual nutritional information with the products and brands you are using with your preferred nutritional calculator.
This post was updated from an old October 2018 post with a lot more recipe details.


Thank you. I was amazed my kids loved it too.