These gluten free cannoli bites are delicious hand-held desserts that are great for entertaining. You will love that these little-baked cannoli cups are baked and not fried. They have all of that yummy cannoli flavor with only half the work!
This post may contain affiliate links. Please read our Disclosure Policy.
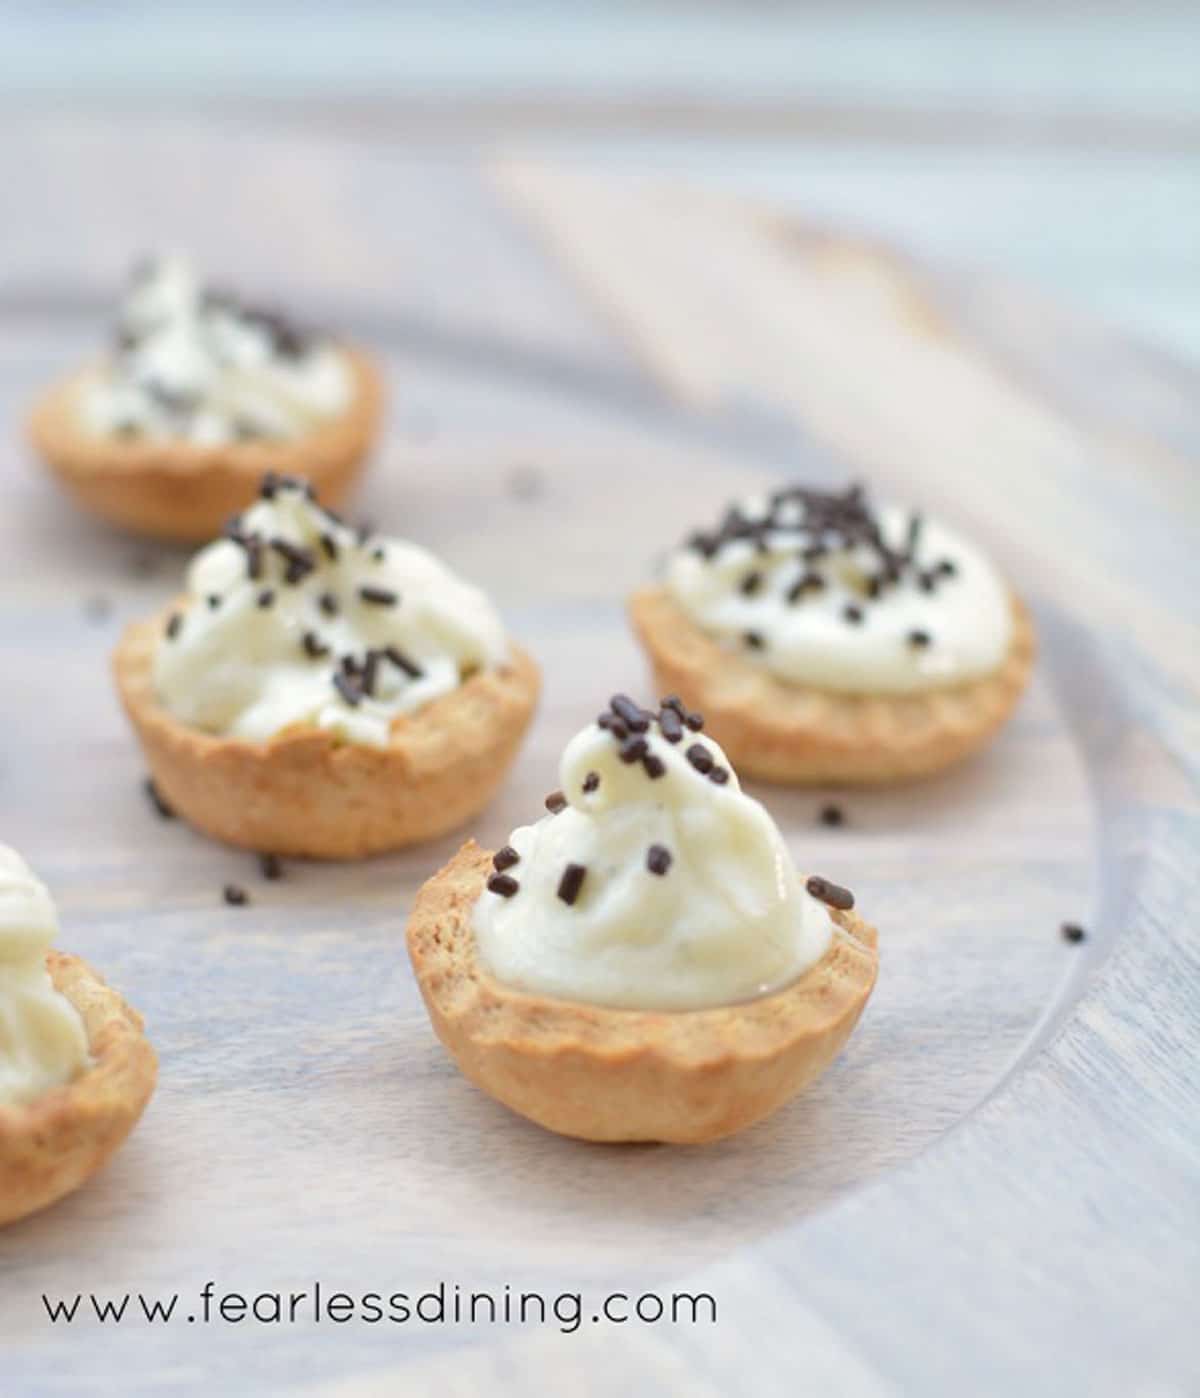
Since going gluten-free, cannoli has been the one thing I have missed. It is flaky, crunchy, and just plain delicious. These baked cannoli bites are delicious and easy to make. These bite-sized filled gluten-free cannoli shells are perfect for entertaining and look extra fancy on a dessert buffet.
You get all of that yummy cannoli flavor in a finger food portion! If you love dessert as much as I do, you will want to check out some of my best gluten free dessert recipes.
Some of that crunch comes from frying the cannoli in oil. I have tried to re-create cannoli several times, but I wanted to make a healthier version that didn’t need to be fried in oil. I hope you will like these baked cannoli shells…trust me, they are absolutely delicious!
Allergen Information:
This baked cannoli bites recipe is gluten-free, nut-free, and soy-free.
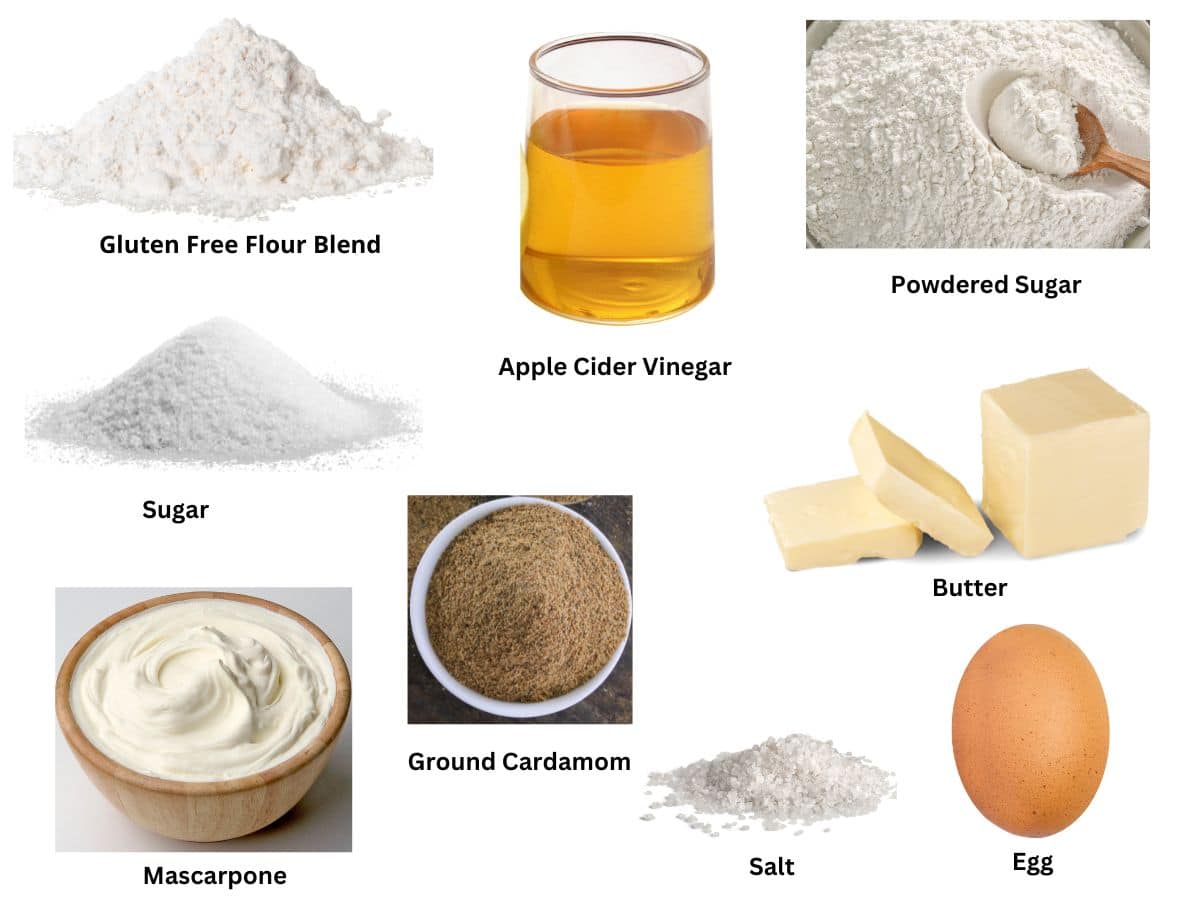
Ingredient Notes:
- Gluten Free Flour Blend – I tested this blend with both King Arthur Measure for Measure and Bob’s Red Mill 1:1. That doesn’t mean others will not work; I just have not tested other flour brands. If you use a different blend, you may need to tweak moisture levels.
- Xanthan Gum – If your blend doesn’t contain a binder, you will need to add one. I prefer xanthan gum, but guar gum will also work. Add 3/4 a teaspoon.
- Sugar
- Ground Cardamom
- Salt
- Butter – Use unsalted butter.
- Egg – Size large.
- Apple Cider Vinegar and Water
- Mascarpone Cheese
- Powdered Sugar
Step-By-Step Directions:
Step 1: Preheat the oven to 350º F. Add the flour, sugar, ground cardamom, and salt to a large
Step 2: In a smaller bowl, add the egg, apple cider vinegar, and partially melted butter. Whisk to blend.
Step 3: Pour the wet ingredients into the dry ingredients. Mix into a nice, soft but workable dough. Wrap the dough in plastic wrap and refrigerate for 45 minutes.
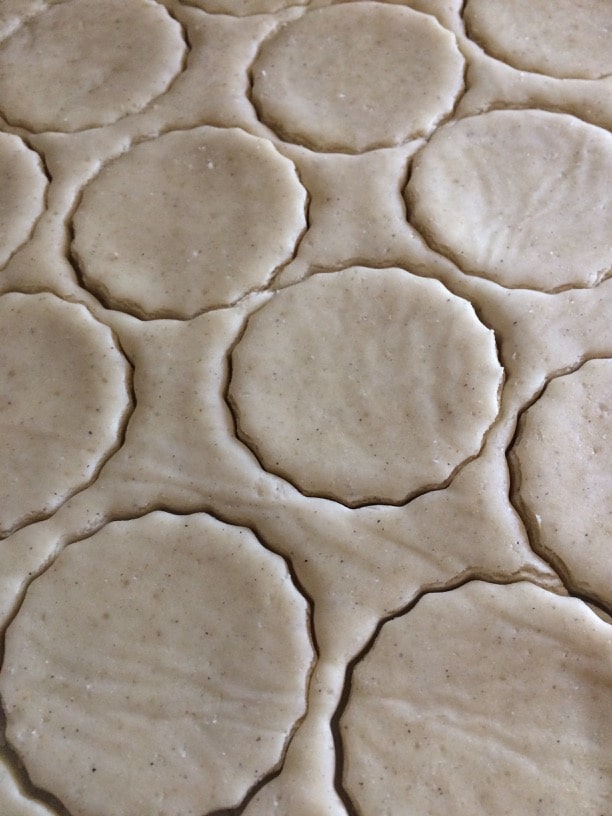
Step 4: Remove the dough from the fridge and place a silicone mat on the counter. You can also use a flour-dusted prepared clean surface if you prefer. Roll the dough out with a rolling pin to 1/3 inch thickness.
Step 5: Use a small round cookie cutter to cut circles out of the dough.
Email This Recipe To Me!
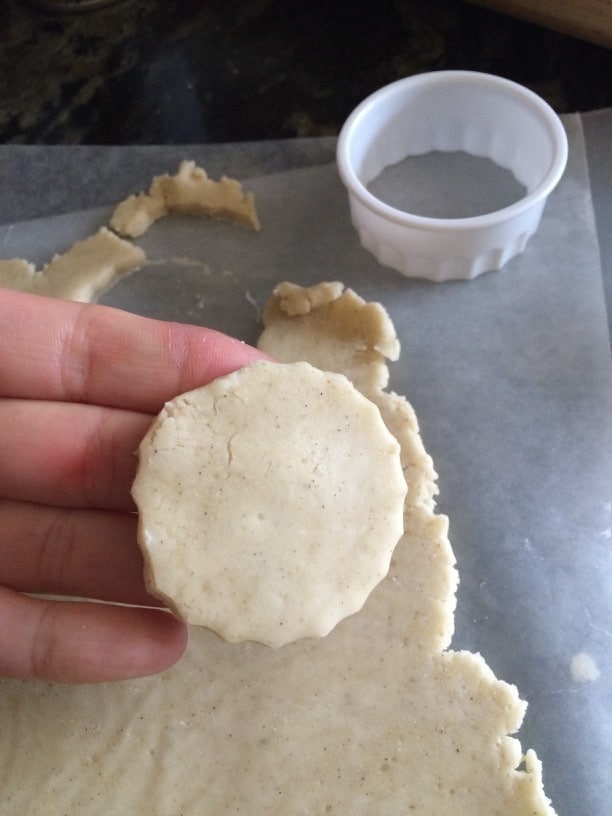
🔑 Sandi says: The colder the dough, the easier it is to work with!
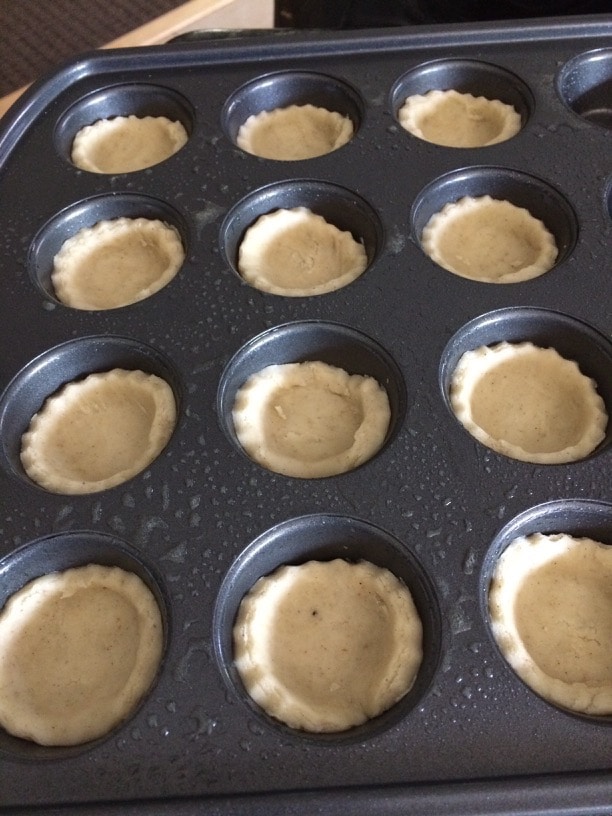
Step 6: Spray a mini muffin tin. with gluten free baking spray. Press each dough circle into a muffin tin hole. Press in the middle to make cup shapes out of the dough.
Step 7: Bake until they are crispy and hard. Allow these gluten free cannoli cups to cool fully before adding the cannoli filling. Bake the cannoli cups for 13-15 minutes. Remove the pan from the oven and move it to a wire cooling rack.
Step 8: While the cannoli cups are baking. Add your mascarpone, powdered sugar, and ground cardamom to the bowl of a standing mixer. Use the whisk attachment and whip the filling for 3 minutes until it is creamy. Cover and chill the filling for 30-60 minutes in the refrigerator.
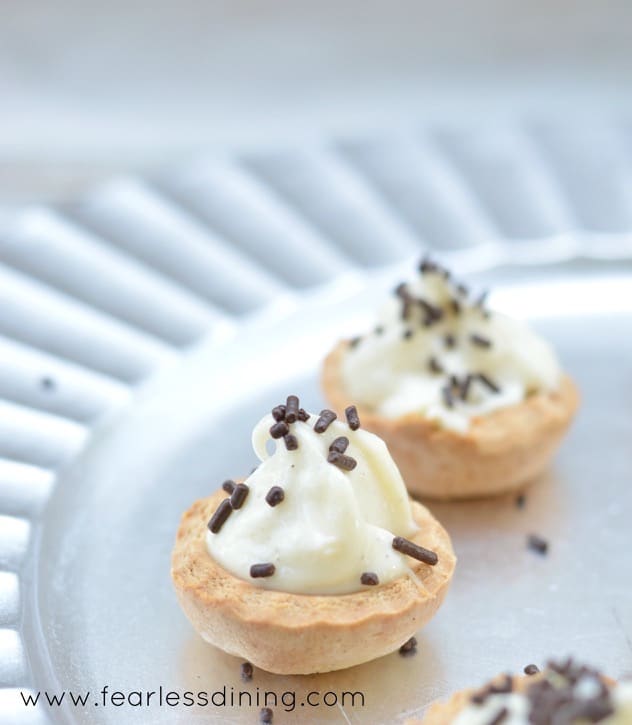
Step 9: Fill each gluten free cannoli cup with the cannoli mixture. You can either spoon it in or use a frosting bag with a large star tip to pipe the cannoli mixture into each cup. Decorate with sprinkles.
Recipe FAQ:
I did try to make traditionally shaped cannoli shells with this recipe but they didn’t keep their shape well during baking. You could try pushing an aluminum foil roll into the middle and see if it will hold its shape better.
Unfortunately, some sprinkle brands are NOT gluten free because they are made on shared equipment with wheat. If you are really sensitive to gluten as I am, you will want to read my article on gluten free sprinkles.
Store the cups and mascarpone filling in a large, airtight container in the refrigerator. Store them separately and fill them before you serve the dessert. If you store them together, the baked cannoli cups can get soggy in the refrigerator.
If you love no-bake desserts, try this easy Gluten Free Key Lime Pie recipe!
Can I use other fillings in these gluten-free cannoli cups?
You can use these cups for lots of different fillings. Here are a few ideas:
- Fill with a creamy mousse. My popular fresh raspberry mousse is a great choice!
- This homemade chocolate custard would make a great filling as well!
- Add a fresh strawberry and drizzle with melted chocolate.
More Gluten Free Party Foods:
- These Gluten Free Mini Champagne Cupcakes look fabulous on a dessert buffet.
- If you haven’t tried Gluten Free Chocolate Cake Pops, they are a fun dessert to make.
- Something a little different, this Gluten Free Mango Sushi is a fun dessert sushi!
Love This Recipe?
If you made and enjoyed this recipe, I would be incredibly grateful if you could leave a comment below. Please include which flour blend you used. This helps others know that this recipe is delicious. Thank you!
Easy Gluten-Free Baked Cannoli Bites
Ingredients
- 2 cups gluten free flour blend * See notes
- 3 tablespoons cane sugar
- ½ teaspoon ground cardamom
- ⅛ teaspoon kosher salt
- ¼ cup unsalted butter cold
- 1 large egg large
- 1 tablespoon apple cider vinegar
- 6 tablespoons cold water
Filling
- 8 ounces mascarpone cheese
- ½ teaspoon ground cardamom
- 3 tablespoons powdered sugar Sift it if there are a lot of chunks.
Email This Recipe To Me!
Instructions
Cannoli Cups:
- Add 2 cups gluten free flour blend, 3 tablespoons cane sugar, 1/2 teaspoon ground cardamom, and 1/8 teaspoon kosher salt in a large mixing bowl. Use a whisk to blend them.
- In a smaller bowl, add 1 large egg, 1 tablespoon apple cider vinegar, 6 tablespoons cold water, and partially melted 1/4 cup unsalted butter. Whisk to blend.
- Pour the wet ingredients into the dry ingredients. Mix into a nice, soft but workable dough. Wrap the dough in plastic wrap and refrigerate for 45 minutes.
- Remove the dough from the fridge and place a silicone mat on the counter. You can also use a flour-dusted prepared clean surface if you prefer. Roll the dough out with a rolling pin to 1/3 inch thickness.
- Use a small round cookie cutter to cut circles out of the dough.
- Spray a mini muffin tin. with gluten free baking spray. Press each dough circle into a muffin tin hole. Press in the middle to make cup shapes out of the dough.
- Bake at 350º F until they are crispy and hard. Allow these gluten free cannoli cups to cool fully before adding the cannoli filling. Bake the cannoli cups for 13-15 minutes. Remove the pan from the oven and move it to a wire cooling rack.
Filling:
- While the cannoli cups are baking. Add 8 ounces mascarpone cheese, 3 tablespoons powdered sugar, and 1/2 teaspoon ground cardamom to the bowl of a standing mixer. Use the whisk attachment and whip the filling for 3 minutes until it is creamy. Cover and chill the filling in the refrigerator for 30-60 minutes.
- Fill each gluten free cannoli cup with the cannoli mixture. You can either spoon it in or use a frosting bag with a large star tip to pipe the cannoli mixture into each cup. Decorate with sprinkles.
Notes
- I have tested this recipe with King Arthur Measure for Measure GF and Bob’s Red Mill 1 to 1 GF blend. That doesn’t mean others will not work, I have not tested other flours. Other blends should work, but you may need to modify the liquid or dry ingredient quantity. My rule of thumb is if your batter or dough is too runny, add more flour, and if it is too thick, add more liquids.
- Xanthan Gum – If your gluten free flour blend doesn’t contain xanthan gum or guar gum, please add 3/4 teaspoon.
- Store the cups and mascarpone filling in a large, airtight container in the refrigerator. Store them separately and fill them before you serve the dessert. If you store them together, the baked cannoli cups can get soggy in the refrigerator.
- These cannoli cups will keep fresh for up to 3 days in an airtight container or up to 4 months in the freezer.
SPECIAL NOTE
Please know that every gluten free flour blend has a different starch to grain ratio. If you use a blend I didn’t test, my rule of thumb is to add more flour if your dough or batter is wet and add more liquid if the dough or batter is too dry!
Nutrition
Nutrition Disclaimer
Nutritional information is an estimate provided to you as a courtesy. You should calculate the actual nutritional information with the products and brands you are using with your preferred nutritional calculator.
(*Note, this post was updated from an older June 2015 post.)
I truly hope you enjoy this recipe. I have been testing and creating gluten-free recipes for over 15 years. Creating gluten-free recipes that do not taste gluten-free is my goal for every recipe. Sometimes I only have to test a new recipe a couple of times, and others it takes multiple times. I do this so you get reliable, delicious results every time!


Hi! I can’t wait to try this recipe! Just one question, would I be able to use a regular size muffin tin rather than mini?
Hi Kaitlin, I haven’t tested this using a larger muffin pan…the crusts should hold up, but again, I haven’t tested it.
The recipe lists cold butter, but then the instructions say “partially melted butter”…. so which one is correct?
Hi El, This recipe is on my re-make list. It is a very old recipe on my site, and although I used partially melted butter back then, I think it would be flakier and better if you used cold butter and used a pastry blender to cut the butter into the flour…as you would making a pie crust.
Am I the only one who doesn’t see an oven temperature?
That is odd, it was up in the post. It is 350º F.
Good afternoon. First let me state that I am not an experienced baker. But these sounded so good that I had to give them a try. I followed the directions for the dough to the letter but it was very dry. It would not hold together. I read all the ingredients numerous times but I didn’t miss anything. As I was reading the ingredients for the filling I saw 6 tablespoons of cold water but when you read the instructions it doesn’t mention the water for the filling. I thought about it and thought the water should have been one of the ingredients for the dough. I tried it and it was the missing ingredient.
Hi Patricia, I am so sorry. I see what you mean. I think when I separated the ingredients by cannoli and filling, I didn’t slide that water up. I am really glad you were able to add it in. Thank you so much, it is corrected now.
If I wanted to omit the cardamom, what would you suggest using instead> These look great.
You can easily leave out the cardamom Brenda. Have a great holiday!
do they come out chewable. I tried something like this a while back and they were hard to bit through
Hi Mary, The baked shells are a little hard, but not so hard they are difficult to bite into. Frying definitely adds air bubbles and crispiness that can’t be duplicated by baking.